Backcountry Skiing & Riding Skinning Techniques
By: Phil Straub
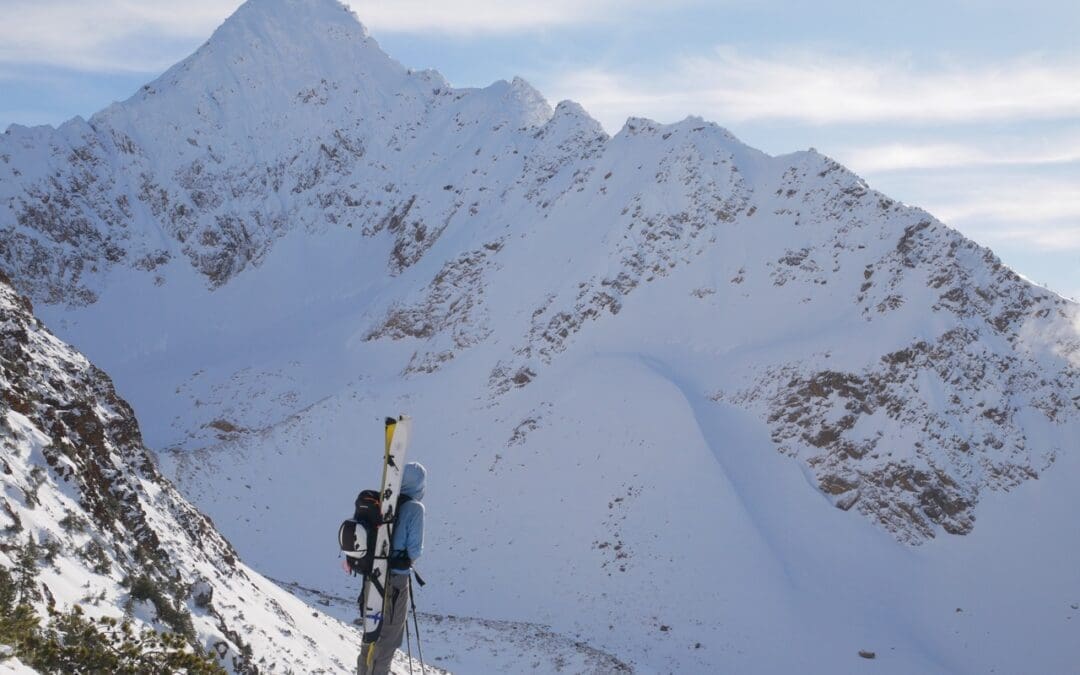
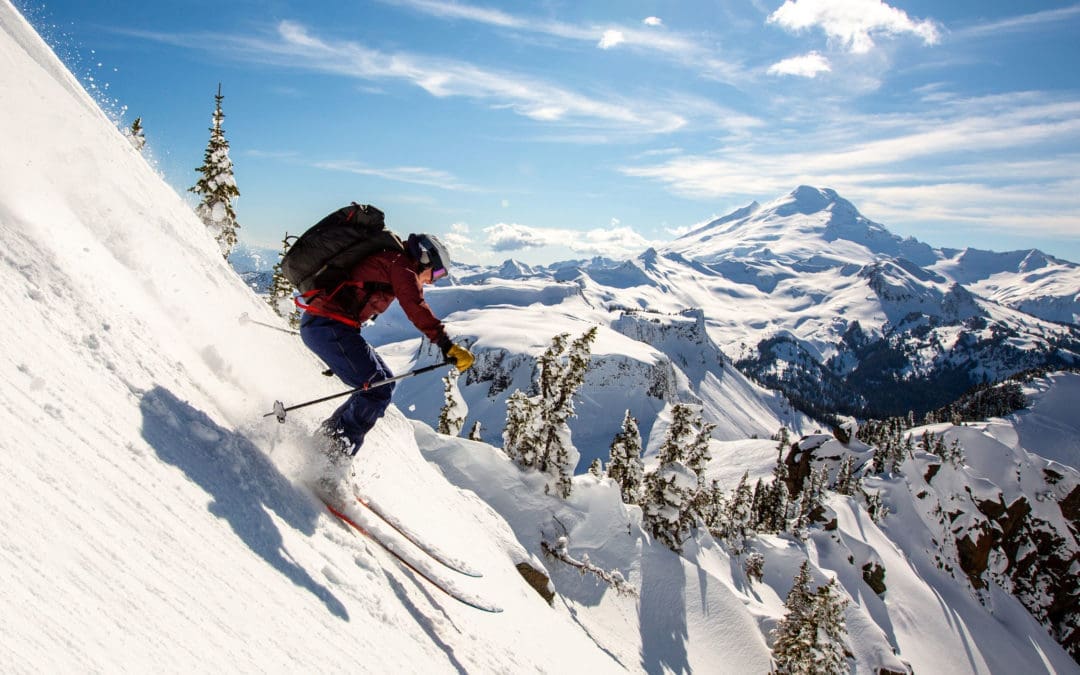
Skinning is the most efficient way to travel across wild snow in the backcountry. People have been putting skins on their planks for thousands of years. In the beginning they were made of actual seal skin. While we’ve moved on from the original materials in favor of newfangled synthetics, the name has stuck. Let’s take a deeper dive into traveling with skins and how you can get the most out of your backcountry tours with effective technique.
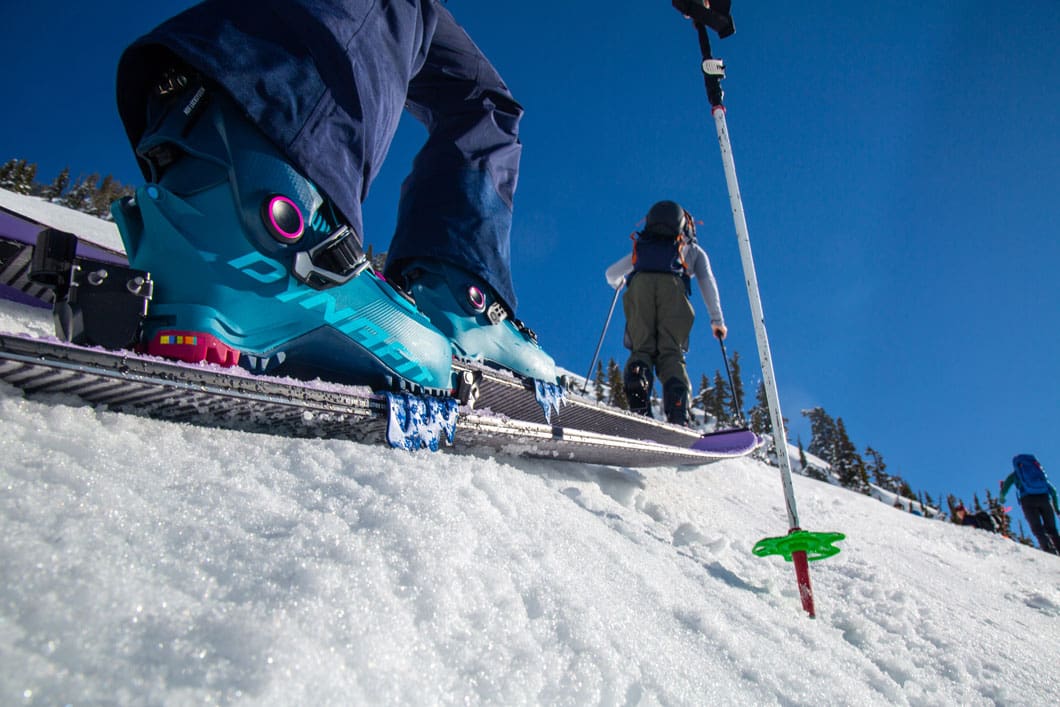
Just like the seal skin, the skins we use today have directional fibers. Modern skins adhere to the ski base with glue. The fibers allow the ski to slide, or even glide, forward, but keep you from slipping backward when you weight your ski or splitboard. While just about any beginner can slap on some skins and move in an intended direction, knowing a bit more about your gear and how to use it can save you a ton of energy for shredding the gnar and moving quickly through the “baby giraffe” phase!
Getting Ready to Go
You’re about to hit the skintrack on a bluebird pow day. Nobody wants to be fussing around with gear while the hoards plow past them towards their stash. If you’re new to skinning, the best way to burn a bunch of time in the morning is showing up without your skins cut. Unless you ordered pre-cut skins that are specific to your ski or split, you’re going to need to trim them to down to size. This is best done in the comfort of your own home. Check out this video or ask one of your more experienced friends to show you the process so that your skins get cut perfectly the first time.
When you’re putting on your skins, whether it’s in the lot or at the bottom of a lap, you’re going to want to make sure you don’t get any snow on the glue. Skin glue has superpowers but snow it it’s kryptonite! It only takes a little moisture to render your skin glue slippery and useless. Sometimes, snow happens. Keep reading for some pro-tips on skin care and getting snow off of the glue in the field.
When you’re putting on your skins, make sure you’re covering your entire base, leaving your edges exposed. This will be important when you hit some firmer snow along the trail. Also, make sure that both your tip loop and tail clip are on tight. The best way to do this is to pull the skin apart with the tip loop hooked on to the ski or split, then keep that tension as you apply the glue side of the skin to your base. Make sure it takes a little muscle to get the tail clip on. It shouldn’t be a struggle, but you want there to be a bit of tension in the rubber strap at the rear of the skin.
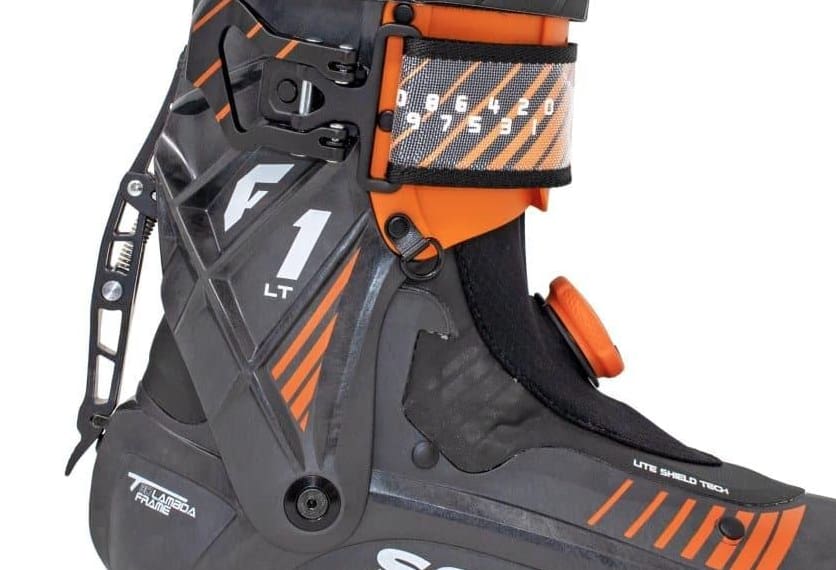
You also want to make sure your boots are fit for uphill travel. Soft snowboard boots are pretty easy to figure out, but ski boots or riding hard boots need to be carefully adjusted. Make sure you’re in walk mode, which is usually achieved by flipping up a lever above the heel of the boot. Make sure your cuffs and buckles aren’t too tight, but that your feet aren’t moving around too much in the boot.
Boots and feet are so individual that you’ll need to work out a dialed system, and you’re bound to get some blisters at some point. Beginners and experts alike should have a good blister repair system in their med kit.
Once you’re ready to go, it’s time to strip down and head up hill! Don’t leave the parking lot in your puffy jacket or you’ll be sweating buckets. “Don’t be silly… start chilly!” Everyone will layer differently, and the more time you spend out the more dialed your clothing systems will be. The goal is not to get wet, from the inside or out. Only wear your shell jacket if it’s snowing (or the dreaded R word…), and don’t wear too many insulating layers for the temperature. Everyone will have to calibrate their own internal thermometer.
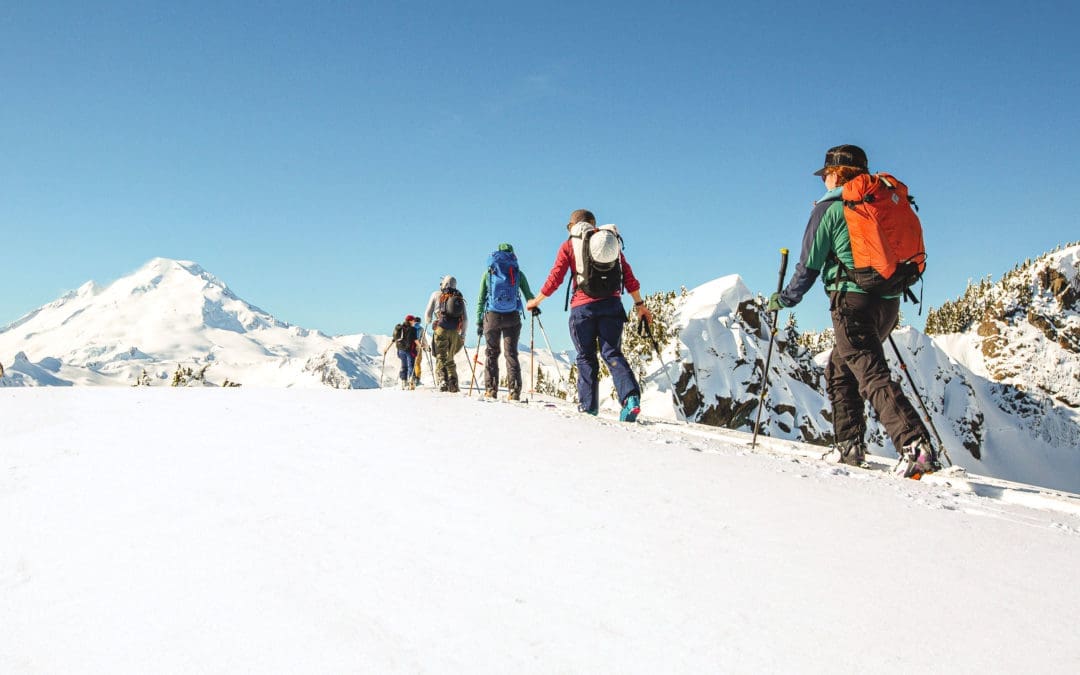
Uphill Techniques
You’re off to find the goods! Don’t burn yourself out before it’s time to rip. Backcountry touring is all about playing the long game, making sure you are traveling efficiently and saving energy for the downhill.
Baby Steps
One way to save energy is choosing an appropriate stride length. As a rule of thumb the steeper you’re skinning, the shorter you step. On the flats, you should shoot to take similar length steps that you would walking at a medium clip on the sidewalk. If you can, you can even try to pause at the end of each stride and glide a few extra inches forward. The video below demonstrates taking short steps.
Once the skintrack angles up, you’d be burning energy walking like this, and if you’re pushing harder to try to glide its time to shorten up the steps. When you’re gaining elevation, try a stride where the heel of your forward boot is about even with the toe of your rear boot. This will achieve two things. First, you’ll be pushing your body uphill efficiently with your quads instead of trying to pull yourself forward. Second, you’ll be keeping your weight directly over your skins, pushing them into the snow and helping them stick better. Stand up straight!
Heel Risers
Most touring bindings have a heel riser. When engaged, these will hold up the heel of your boot to simulate a flatter foot position, which is both more comfortable and helps you pressure the skins better. But don’t over-use them. Get in the habit of flipping them up for longer hills and flipping them down for longer flats, not over adjusting along the way. Lots of adjustments will burn time, and you’ll lose your rhythm!
If you’re a real lucky duck, you’ll be the first to the top of your line! But that means you’re going to have to break some trail. You may also have to break some trail if the tips below don’t cut it when you encounter a sub-par skintrack. Breaking trail can be intimidating at first and takes a while to master. The best way to learn this talent is to go out with an expert and skin through the fresh right ahead of them, while they give you real-time feedback.
A couple tips to get you started:
- Don’t use your heel risers, even if it’s hella deep. Flipping them up is a sure way to put in a track that’s too steep.
- Try to select a route that keeps the skintrack a consistent angle, preferable between 12 and 15 degrees moving uphill. This is easier said than don’t, and again, practice makes perfect.
Rounded and AVA Turns
When the slope gets steeper, you’ll need to make some switchbacks to keep that skintrack angle low. Turning around on a slop is often the hardest part of the skin track, especially for new backcountry travelers. There are a few techniques to achieve this, and most will take lots of practice. If it’s not too steep, you can simply make a rounded corner to turn around. This is great because you never have to break your stride. As you get steeper, you may need to step through the turn. We call this an AVA turn because as you step around, you will make A’s and V’s with your skis.
Kick Turns
Finally, we get to the feared kick turn. There are a couple ways to do this and a whole lot of ways not to do this. We’ve included a video for you to study. The most important thing is to pick a technique and practice as much as possible, so that when the slope gets steep and exposed, you’re ready to bust out a pro kick turn. Make sure you avoid getting your feet too far apart! Just like your stride, keeping your feet closer together will weight your skins better and make you less likely to slide out. Getting your skis splayed out in a giant V is NOT A KICK TURN! It’s just you falling on your face and entering the “V of Doom”.
There are three types of commonly used kick turns: Tail Jab Kick Turn, Pole Basket Grab, and Windshield Wiper. In the video below, Margaret Wheeler demonstrates all three types of kick turns and offers some guidance for how to avoid the “V of Doom” and “Tip Dive.”
Making the Best of a Bad Skin-suation
Not every skintrack is perfect. First things first – if you don’t like what you see, make a better skintrack. But sometimes the trail only bites for a few steps, or the terrain makes it had to put in a high-quality skinner. When that happens, here are a couple tips.
Remember how we take shorter steps while moving uphill? Well, when you have to get past a short, steep or icy section, keep that trend rolling. You can take super short steps to keep those skins weighted correctly. Think so short that it feels weird, like half a boot length. Also, avoid relying on your poles or trying to pull yourself up the mountain. Keep an upright body position and plant your poles near the toes of you boots for these short sections.
If you’re sliding sideways off the track, make sure that you’re engaging your whole skin surface by rotating your ankles downhill and getting your bases flatter across the surface. This will add a ton of grip to your scene, and hopefully get through an annoying section. Well fit skins and properly adjusted boots will make this technique a lot easier.
Sometimes, skins alone just don’t cut it. If you can’t replace a bad track or push through with some technique adjustments, it’s time to adjust your travel practice. The Video below goes through some options!
Ski Crampons
Ski crampons might help you travel more efficiently across an icy surface. Check out our resource on ski crampons for all of the deets of these sweet little tools. If its slope angle that’s getting you down, you may just have to switch over to bootpacking. If this is the case, it’s better to just bite the bullet instead of wasting a ton of energy trying to skin up a really steep slope. If you switch to boot, make sure you make your own trail instead of walking in the existing skintrack, even if you really hate it.
Going Down on the Uphill
Lastly, while we all want to skin uphill and slide downhill, there will come a time when the skintrack loses a bit of elevation. Between the loose boots, unlocked heels and the grippy things under your feet, skinning downhill is hard. Let’s get straight to it. You’re gonna fall, at least at some point.
Some tips to avoid this are:
- Keep your weight centered and control your speed.
- Widen your stance and try to stay upright. The backseat will eat you!
- You can drag your pole baskets through the snow as a bit of a handbrake or bust out your best snowplow technique. Even the pros do it! Just don’t pizza when you should French fry… or else… you know…
Transitions
The moment we’ve all been waiting for!
You’ve hoofed it up to the top of Mount Pow and it’s time to shred. A nice careful transition here will help you enjoy the downhill and the next uphill even more.
Up to Down
Here’s a quick checklist of everything that has to happen to transition to riding:
- Rip skins
- Fix heels or assemble splitboard
- Adjust boots
- Shorten poles (riders stash)
- Adjust clothing and headwear.
- Make a riding plan.
Rip Skins
Ripping your skins can be that hardest part here. Eventually, skiers will want to learn how to do this with their skis on, but at first falling over or losing control is a great way to cover your skin glue in snow. There’s no shame in taking off you ski to rip your skins.
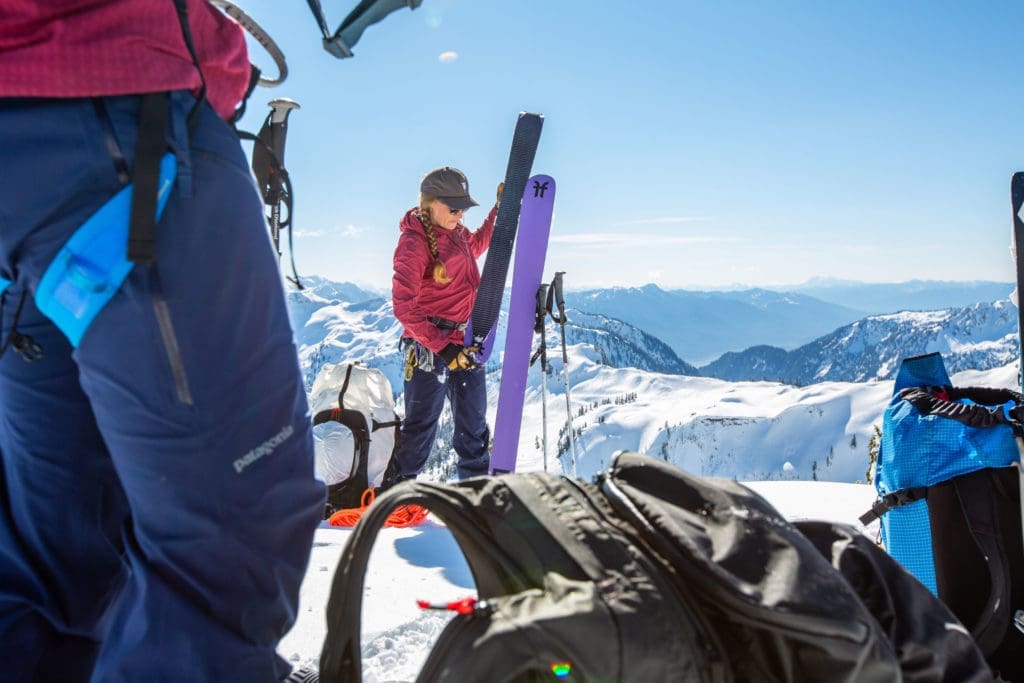
Once you get the skin off, fold it over once on itself and stash it in your pack right away instead of throwing it in the snow while you do the other. The best time to practice ripping your skins with your skis on is when you’re on flat ground with a firm snow surface so there’s less of the fluffy stuff to muck up your glue.
The rest of the transition is pretty simple stuff, but you want to make sure you complete the checklist.
Fix Heels or Assemble Splitboard
Starting down a slope as a skier in “Walk Mode” is a huge bummer! Remember to lock in your heels. If you’re on a split board, remember to check all your screws and buckles to ensure they’re tight and good to go. Things tend to loosen as you walk. Having a buckle fall off into deep snow and losing some small part you need to ride is all too common. Be proactive and pre-tighten!
Adjust Boots
Accidentally starting downhill with loose boots is a bummer! Make sure you’re ready for downhill travel with nice tight boots.
Shorten/Stash Poles
Unless you ride with fixed length poles like those from Folkrm, which we highly recommend, remember to shorten your poles as a skier and consider putting them away entirely as a border (unless you need to traverse a lot or scooch across some flats.
Adjust Clothing and Headwear
Put on your helmet and googles and adjust your outer layers as needed. Don’t be a dummy, keep a warm tummy! Though you may be warm after exerting yourself on the uphill, now that you’ve stopped, you’ll cool quickly once the laws of thermal dynamics come into play.
Make a Riding Plan
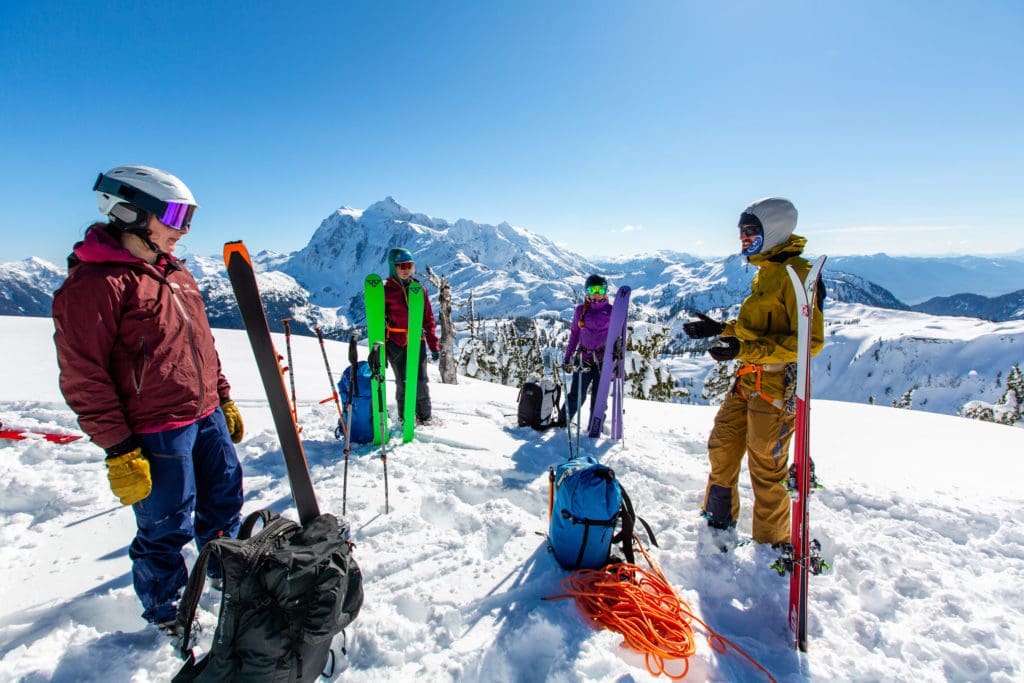
Eat a snack and check in with your buddies about their needs. When was the last time you drank water or put on sunscreen? Hydrate or die, and don’t get fried! This transition is also a great time to discuss a downhill travel plan with your crew. Check out our resource on Group Travel for tips on moving well as a pod.
Down to Up
Woo! You did it! You rode something down. Hopefully pow and nobody got hurt. Now you need to transition to up:
- Loosen boots.
- Unfix heel (disassemble split board).
- Re-apply skins.
- Remove layers.
Loosen Boots
Loosen your buckles and power straps for uphill travel! It’s also more comfortable just standing around chatting about what you’re doing next.
Unfix Heel (disassemble split board)
Remember to go back into walk mode so you don’t do the Frankenstein Monster Walk. Take back apart your split board if you’re a rider.
Re-apply Skins
Make sure there is no snow or ice on the skins before you put them back on. If there is snow/ice, run the glue side along the edge of the ski a few times to scrape ice/snow off. More tips for skin care below!
Remove Layers
Be bold, start cold and all that. Now that you’re going back up, you will get hot again no matter how improbably that seems at the bottom while you’re standing around. Take your helmet off and skin in a hat. Put on sunglasses rather than goggles to keep them from fogging up. Also, before totally stripping down, make sure you grab a bite to eat and drink!
The video below does a great job of explaining transitions.
Considerations
Snow/Ice in Tech Boots
If you step out of your skis to transition, you may get snow/ice built up in the holes where your pins go on the toe of your boots. By stepping back into the binding and moving your foot up and down a few times, the snow/ice should clear. Make sure it does! Your binding can pre-release when you don’t want it to (think first turn down the slope) and then you really have a bad day.
Snow/Ice in Binding
It’s common for snow to build up underneath the springs on your binding toe pieces, make sure to clear this out by clicking the toe piece up and down multiple times or until clear. If you don’t, you might pre-release from the ski, which is not a great feeling your first turn into a line you worked so hard to get on top of!
Pro Tips for Skin Care
A successful day of earning your turns begins well before you hit the skintrack. Caring for your gear will not only make it last longer, it will help your stuff perform better as well. Here are a couple tips for keeping your skins in tip-top shape.
- The most important thing is to dry your skins every time you use them. Don’t put them near direct heat! This will destroy your glue. Simply unfold them and hang them up to dry at room temperature. Once they’re dry, fold them glue-to-glue and store them somewhere cool until your next day out.
- Next, make sure your planks are all well waxed. Keeping your bases waxed will make ripping your skins easier and it will prevent skin glue from sticking to your bases and gumming up your ride. Plus, you’ll have more fun sliding downhill if your wax is fresh.
- Out in the field, if you’re moving back and forth between wet and dry snow, you may experience the dreaded skin glop. If you have big clumps of snow sticking to your skins while you’re trudging uphill, it’s time to take the skin wax out of your repair kit. Use the “kitty-wrong-rub-technique” – rub the wax directly onto the hairy side of the skins from tail to tip, then smooth it out with a tip to tail pass. This should help repel water and keep you sliding nicely.
- If you do end up getting snow on your glue, it’s not the end of the world. You can use your ski edges to scrape some of that snow off. You don’t want to do this all the time or your glue won’t last, but here and there it’s no big deal. If there’s just a little snow in your glue, you can vigorously rub the snowy glue with your glove to make the snow melt.
- Finally, if you have glue adhering to your ski bases from your climbing skins, it’s time to iron them! Yes, Iron them. Check out the video below
Skinning through the backcountry can be a true joy. Building good technique and practice can help you make your way to the top and enjoy your whole day out in the backcountry!
Next Steps
Getting good at these skills takes time, so go out and practice! If you want more hands on mentorship, our one day Intro to Backcountry Skiing Course is a great way to get affiliated with your gear and get feedback on your technique. You can also learn more online. Check out The Backcountry Skiing Guide for all things backcountry skiing and more content like this.